


Vinyl and your turntable prove that what is old is still great. It's like your grandpa at a wedding who has those timeless funky dance moves.
As a medium that is proving itself popular across generations - everyone from the baby boomers & to millennials alike are acknowledging that this format sounds phenomenal, delivering a certain 'tone and warmth' that you just can't recreate with streaming.
As such, vinyl record sales have been steadily on the rise year by year with recent data estimated to have seen around 860,000 new sales in Australia alone!

As so many people are flocking back to turntables and embracing the vinyl revival, it's more relevant than ever to stress the importance of vinyl care, maintenance and having the correct turntable setup.
Today's music players swap mechanical pieces for hardware upgrades and streamlined software. The vernacular and maintenance requirements of analog systems can be complicated at times.
Turntables can take some getting used to – that's why we're here to help!
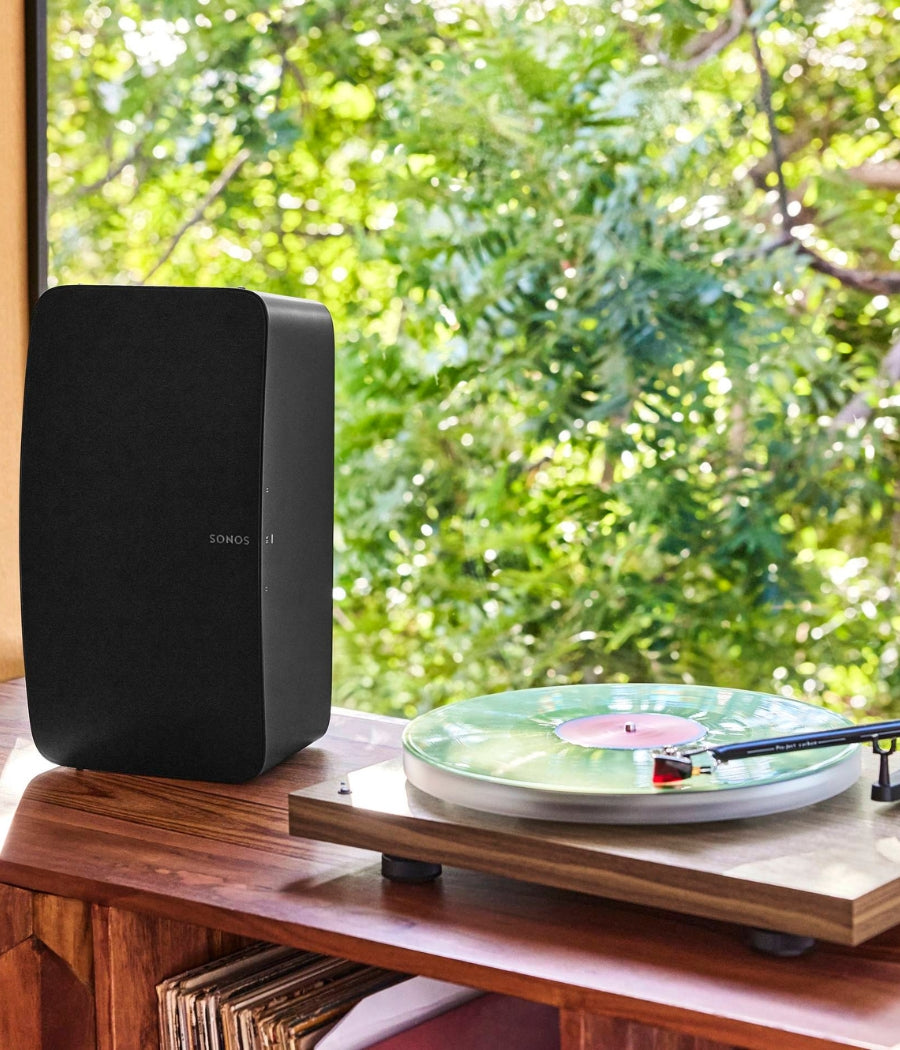
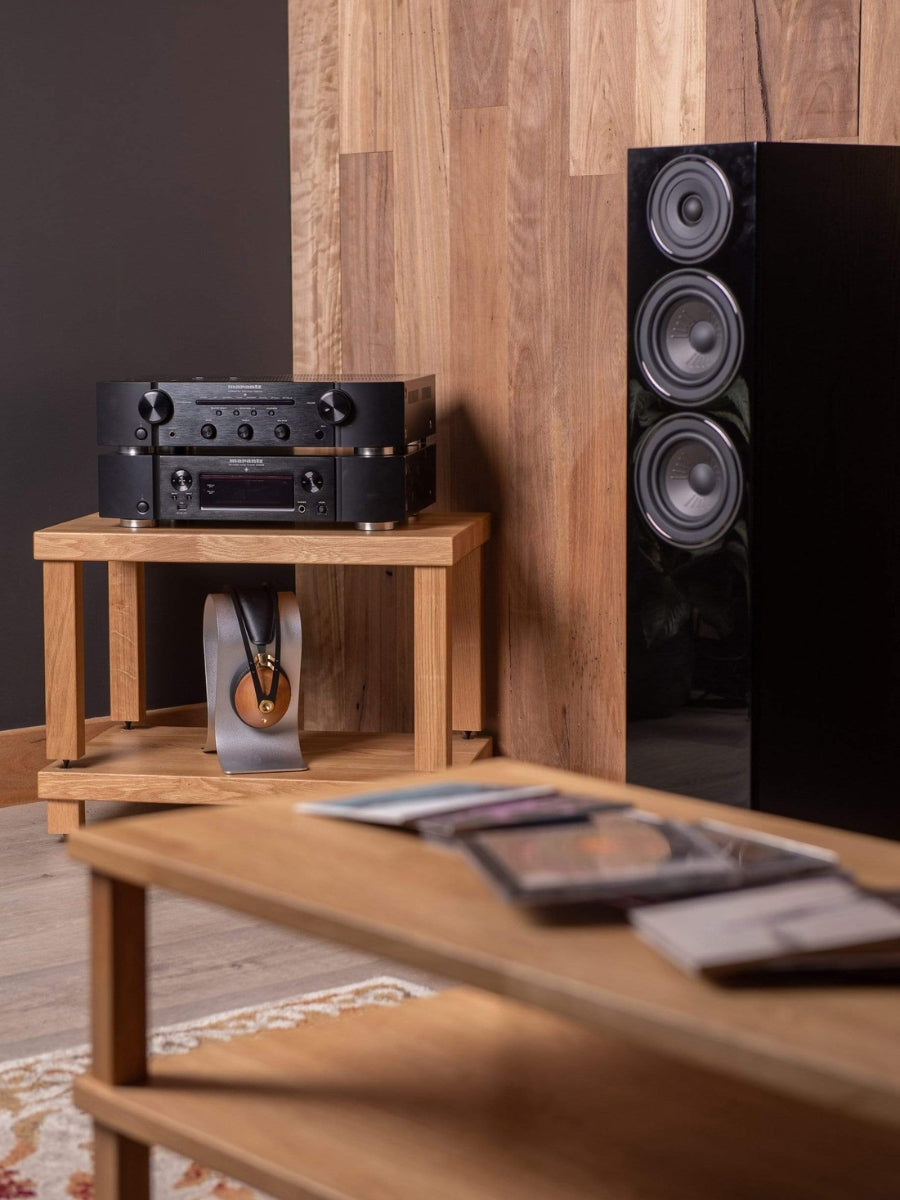
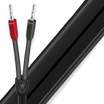
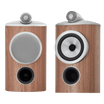
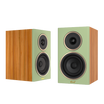
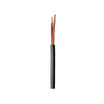
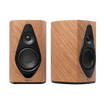
If you're looking to achieve the best sound quality possible from your vinyl setup and Hi-Fi system as a whole, every single component must be optimised and running correctly - from the tip of the stylus through to the phono input, into the integrated amplifier and further on to your speakers ... and even the speaker wire connecting them!
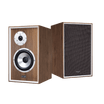
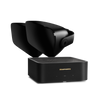
Whether you're sporting a more traditional 2-channel Hi-Fi system, or into the more modern active and powered speakers - I guarantee you’ll get something of value out of this article.
Nat, our resident Hi-Fi expert, has put together a great video running you through all of these top tips - so before you start scrolling and reading, hit play below and give it a watch!
CONTENTS:
- The Main Components Of A Turntable
- - The Platter
- - The Motor
- - The Plinth
- - The Tonearm
- - The Cartridge
- - The Stylus
- - An Important Consideration: The Phono Stage
- 5 Tips For Getting The Best Out Of Your Turntable
- 1.) Placement & Levelling
- 2.) Calibrate Tracking Force
- 3.) Cartridge Alignment
- 4.) Keep Your Stylus & Records Clean
- 5.) Upgrade Your Platter & Mat
- - Final Pro Tip:
- - I Got 99 Problems But My Turntable Ain't One!
The Main Turntable Components:
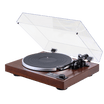
First, let's go over what you can expect to find on most turntables. Although there will always be some debate over terminology, it is generally recognised that a quality turntable consists of few major parts.
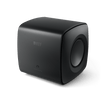
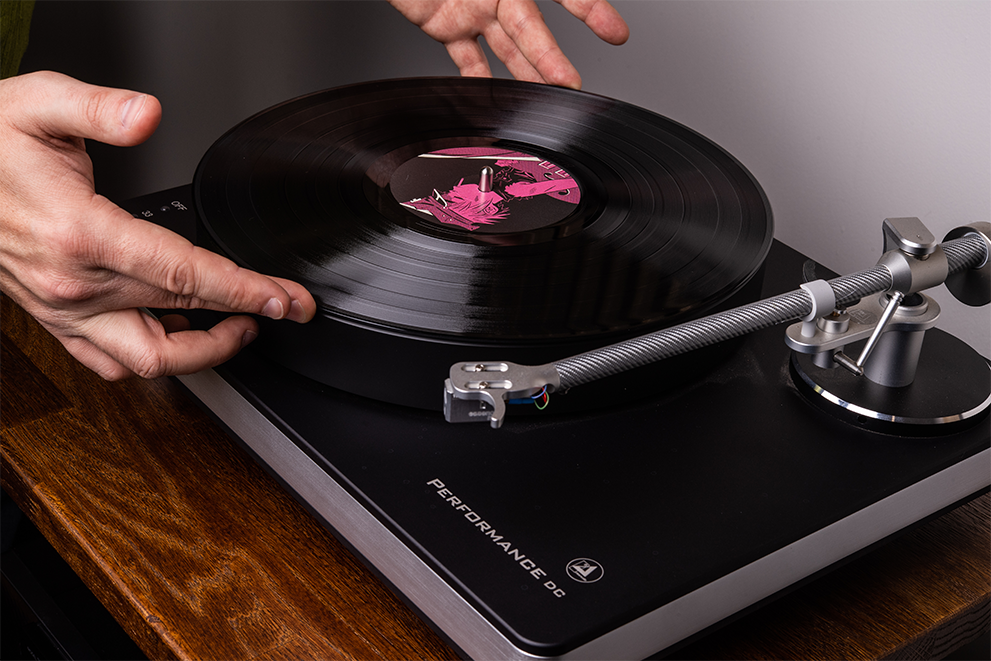
The Platter:
The platter is the section of the turntable that the vinyl record sits on. The platter is spun by a motor at variable RPM (e.g. 33, 45, or 78) and often has a mat (usually felt, rubber or cork) to help protect your vinyl, stop it slipping when spinning and help control resonance.

The Motor:
Usually belt drive or direct drive, the motor is housed in the plinth and is responsible for making the platter spin. It is important that the motor is designed and fit in a way that doesn't produce vibrations or noise.

The Plinth:
The plinth is the solid base of your turntable and houses all of the other components. It is the key isolation point which allows the other components to move accordingly and is usually fit with dense rubber feet to eliminate any unnecessary vibrations that will affect the sound quality.

The Tonearm:
The tonearm is the long arm of the record player that houses the cartridge and is responsible for applying the stylus to the record grooves with the perfect amount of downforce. As such, a tonearm usually has a counter-weight and needs to be perfectly balanced and aligned to make sure that the stylus can track the record grooves properly.

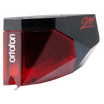
The Cartridge:
The cartridge connects to the end of the tonearm and houses the 'stylus'. The primary job of the cartridge is to convert the vibrations picked up from the record by the stylus into electrical signals (i.e. sound!). There are a huge number of different cartridges available from moving magnet (MM) through to moving coil (MC), all of which can produce many variations in sound.

The Stylus:
The stylus is the needle that sits at the end of the cartridge and rests against the record to track the record's grooves as it spins. As the record spins the stylus vibrates along the grooves of the vinyl and generates an electric signal that passes into the cartridge to create the sound.

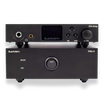
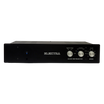
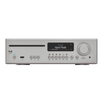
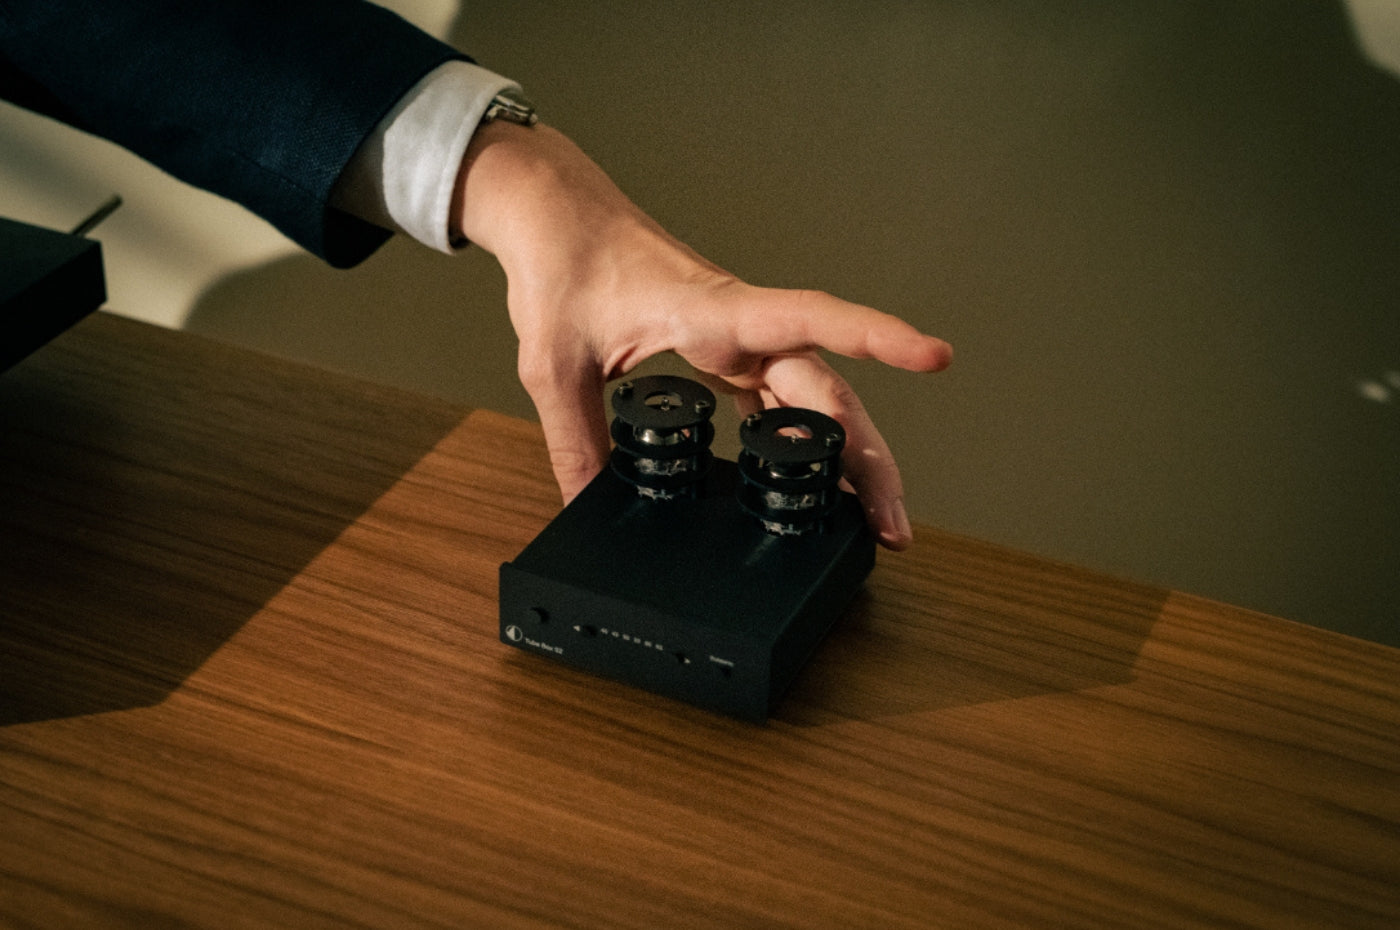
An Important Consideration - The Phono Preamp:
A turntable produces an audio signal that's too weak to be played through a speaker so an additional phono preamp or 'phono stage' is needed to boost the signal to line level for playback at normal levels.
Some turntables have a built-in phono pre-amp (phono input), meaning you can plug your turntable straight into your integrated amplifier or powered speakers, but there are still many that don't include them and require an external phono stage.
Even with a phono pre-amp built-in, adding a high-quality phono stage can give the audio signal an extra bump in quality and deliver much better sound quality.
There are a number of great phono preamps available for any design or budget - you can check them out here.

Now that you are up to speed with what makes up a turntable, here are...
5 Tips To Get The Best Turntable Setup Possible!
1.) Placement & Levelling:

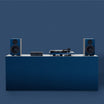
As simple as it sounds, making sure your turntable is level and positioned properly is crucial. This is one of the most important steps in achieving the correct turntable setup and is often overlooked.
The stylus is highly sensitive and susceptible to vibrations - any little jolt diminishes its ability to track the record's tiny grooves and wreaks havoc on the sound quality.
When deciding where to place your turntable it's important to consider unwanted interference such as footsteps passing by, pets getting too close, sound waves from the speakers, or sharp noises when a loved one closes a door.
Once you've placed the turntable in an optimal spot, it's time to make sure that it's level. This is an essential step in your record player setup - if the player isn't on an even plane the stylus won't properly sit in the record's grooves, and the platter also won't rotate at an even speed.
WHAT'S THE SOLUTION?:
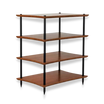
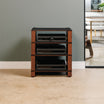
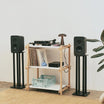
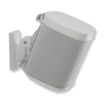
As mentioned, the best way to reduce outside vibrations interfering with your turntable is to place it on a solid platform in a quiet location, away from walkways and foot traffic. It's best to go with a specialised platform like the Ground It E, Deluxe 1 or Deluxe 3 as they are purpose-designed to limit resonance, unlike a cabinet or dresser. If you need / prefer a wall-mounted turntable platform, check out the Wallmount It 1 or Wallmount It 5.
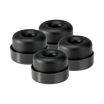
Furthermore, even the smallest vibrations can affect the stylus so for a small cost it's worth adding some small shock-absorbing feet that sit neatly underneath your turntable no matter where you place it. The Pro-Ject Damp-It feet or anything from the IsoAcoustics range are excellent solutions.
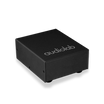
Once positioned properly, levelling your turntable can be easily achieved with the help of a small and inexpensive turntable level such as the Ortofon Hi-Fi Libelle or Pro-Ject Level It. For a serious step up in quality, accuracy and usability - we'd recommend looking at the Blue Horizon Prolevel for a higher-end turntable.
2.) Calibrate Tracking Force

To make sure that the stylus accurately tracks the grooves of a record without damaging it, it needs to have the correct amount of downforce applied to it.
If it's pressing down too hard, you'll get distorted sound quality and damage your vinyl, but, if it's pressing down too lightly the stylus will bounce around or 'skate' giving poor sound and scratching the record.
Welcome to the ultimate goldilocks effect.
To apply downforce, the tonearm typically has a tracking or anti-skating weight attached, however, it will always need to be calibrated as tonearm and cartridge weights are all unique. It's essential you spend some time working on achieving the correct turntable tonearm setup.
Setting the right tracking force could fill an entire post, but here are the cliff notes to give you a rundown on how to do it:
- Free the arm from its yoke – Most tonearms have a hook in the middle that secures the arm while it's stationary. Detach the arm so that it's free to move about.
- Level the tonearm – on the opposite end of the stylus there will usually be a counterweight with a dial knob or a small weight + pulley system. For the dial knob - take off the stylus cover & turn the knob to "0" or until the tonearm floats level without touching the platter. For the weight + pulley system, there will be a series of grooves in which the weight needs to rest.
- Dial-in recommended weight – On the packaging of each cartridge will be the manufacturer's recommended tracking weight. Dial this into the weighted knob, or put the weight + pulley in the suggested groove depending on your turntables setup.
Important Note: There is a lot a variation between manufactures and products - as such, you'll still need adjust the tracking force for your specific setup.
WHAT'S THE SOLUTION?:
To protect your vinyl and get the best results from your stylus, you'll need to measure and adjust your tonearm's tracking force with the help of a Tracking Force Gauge.
If you're operating an 'entry-level' turntable and are just after a measurement 'on the fly, there are some very simple and inexpensive gauges (e.g. Ortofon Hi-Fi Stylus Pressure Gauge) that will get the job done.
If you've invested in a high-end turntable setup and really want to achieve a high degree of accuracy with your tracking force, we recommend a more sophisticated tracking force gauge such as the Ortofon HiFi DS-3 Digital Stylus Pressure Gauge or the Clear Audio Weight Watcher Stylus Gauge.
These are both very high-quality measurement tools with super-fine sensitivity and precision. A worthwhile investment if you're looking to really dial in your sound and reduce any risk of damage to your stylus & vinyl.
3.) Cartridge Alignment

A vinyl records grooves are remarkably small, with each separate track containing an immense amount of detail and information for the stylus to read.
Without the correct turntable cartridge setup, the stylus can't track the grooves properly, leading to problems such as distortion, a loss of detail and even damage to your vinyl!
Even the slightest error in alignment can cause a noticeable issue but luckily enough, aligning the cartridge isn't a particularly complicated task provided you have all of the right tools.
WHAT'S THE SOLUTION?:
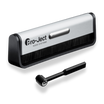
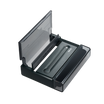
Knowing how to setup a turntable cartridge is a valuable skill for a vinyl owner, and with the help of a simple cartridge alignment tool (pictured above), you can easily and quickly get your cartridge in the right position and your stylus tracking nicely.
The procedure for most turntables and cartridges is to gently loosen the head-shell screws, move the cartridge to the correct position as indicated on your cartridge alignment protractor, and then re-tighten the screws once you have it in the correct position.
Simple cartridge alignment tools such as the Ortofon Alignment Card or Pro-Ject Strobe-It are very inexpensive and all you need for most entry-level to mid-level cartridges (e.g. OM 5E, 2M Red or 2M Blue), but if you've spent the money on a higher-end cartridge such as the 2M Black, Quintet Black or Cadenza Black - I'd recommend getting something like the Pro-Ject Align It for that extra degree of accuracy.
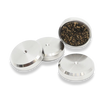
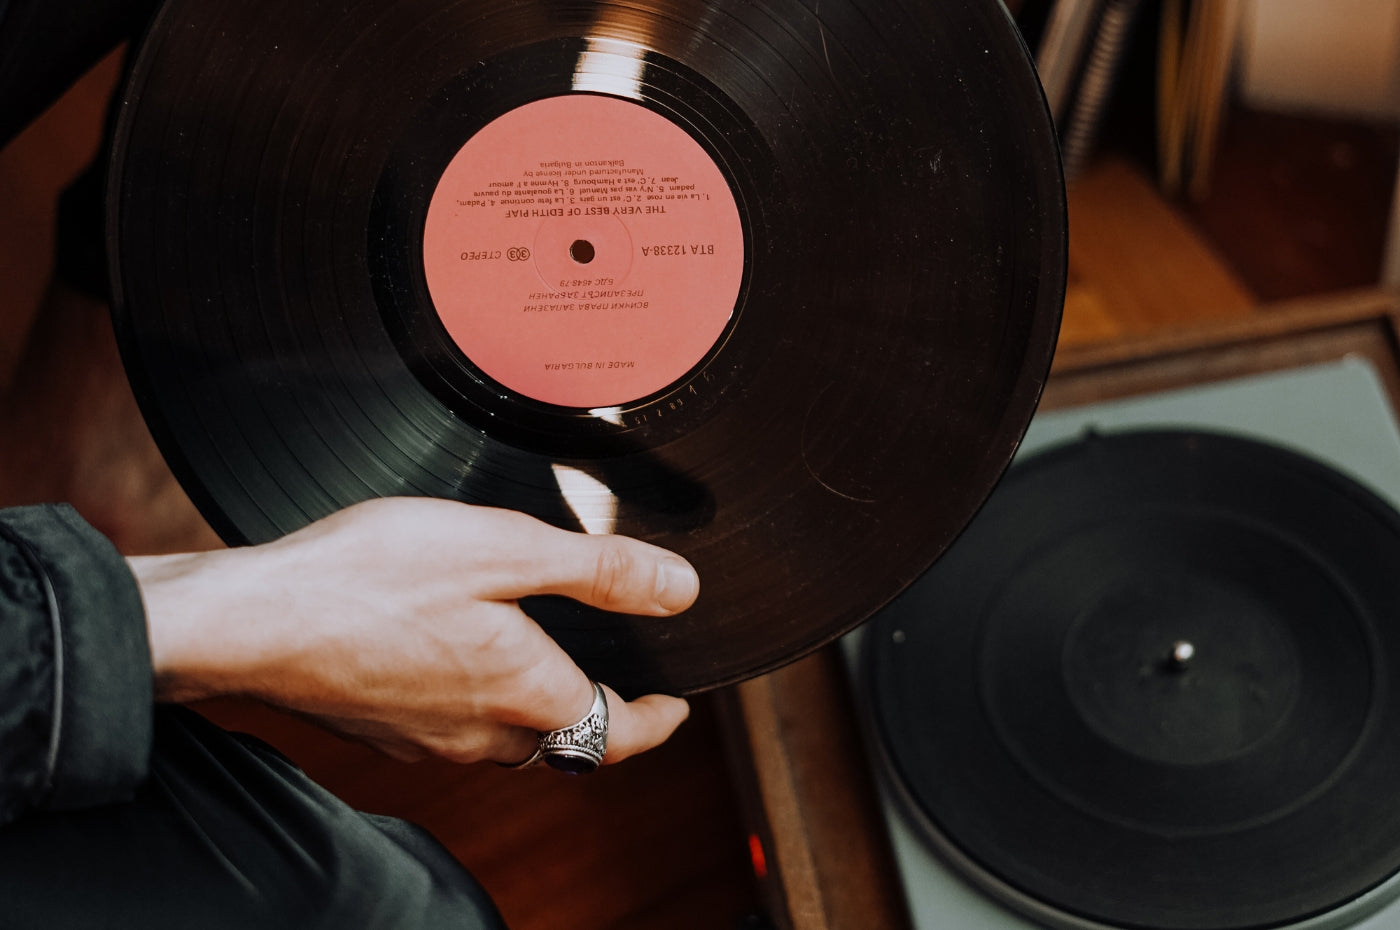
4.) Keep Your Stylus & Records Clean

When it comes to your turntable and vinyl collection - cleanliness is next to godliness!
No matter how clean you keep your home, given enough time, dirt and grime will always build up on your records and stylus.
This has a significant impact on the sound and performance of your vinyl, with all vinyl enthusiasts familiar with the crackling and popping blasting through your speakers caused by dirt and dust.
Fortunately, this is probably one of the most impactful, affordable and easiest fixes you can apply to your system.
WHAT'S THE SOLUTION?:
The bottom line is - routinely cleaning your stylus and records will keep your vinyl sounding pristine and your turntable in tip-top shape. There are a number of great tools to make this routine as easy as possible:
Cleaning Your Vinyl:
If it's as simple as a bit of loose dust on your records, look no further than the Pro-Ject Brush It. This handheld anti-static brush is a safe way to remove any small bits of lint and dust that might settle out of the air.

At a minimum, you should have one of these on hand to give your vinyl a quick 'sweep' before playing - it will stop the 'dust pops' during playback and go a long way towards preventing the build-up of grime in your record grooves and on your stylus.
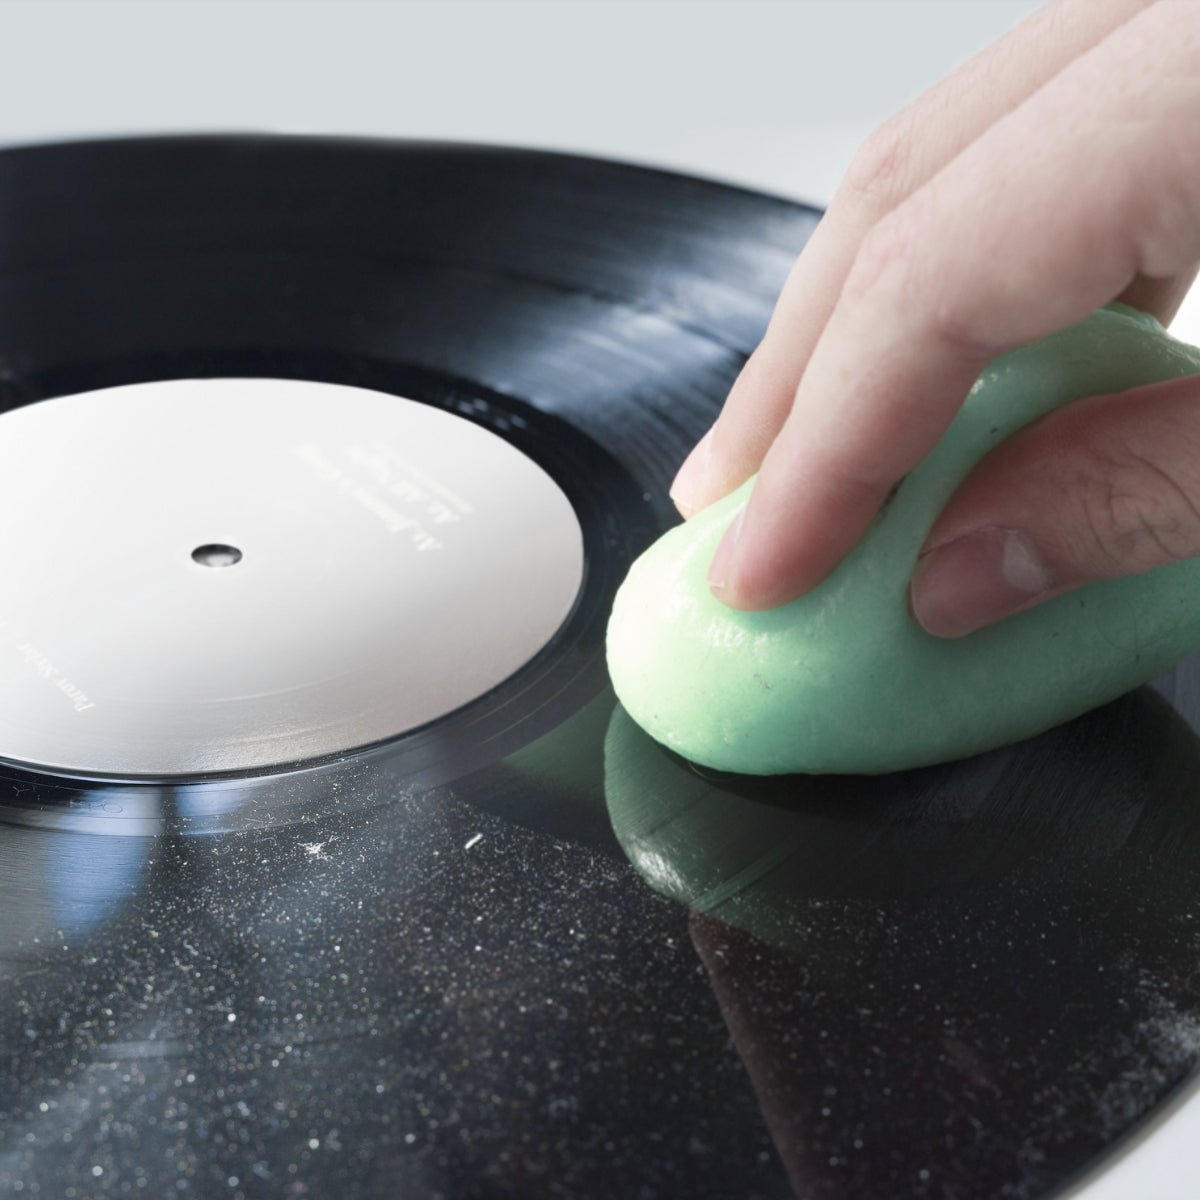
If it goes a bit deeper than dust and you have some grime set into the grooves of your vinyl, you might need to look at something like the Pro-Ject Vinyl Clean. This high-tech sticky substance is great for giving an individual record a good deep clean.
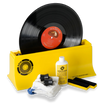
If you've got a few records to clean or just want get deeper clean again - the now-famous Spin Clean is a brilliant option. This easy-to-use record washer gives your vinyl a thorough clean and allows you to get through a stack of vinyl in 'record time'.
Finally, the ultimate clean for your vinyl comes in the shape of the Pro-Ject VC-S2 Premium Record Cleaning Machine. This motorised cleaner is far and away the quickest, easiest, safest and most effective way to clean your vinyl but as you'd imagine, attracts a higher price tag than the other options on this list. This is one to consider if you have a massive collection of vinyl to clean or look to do it on a regular basis (e.g. offering a cleaning service).
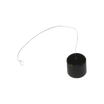
Cleaning Your Stylus:
While the stylus might be one of the smallest parts on your turntable, it's also one of the most important - and keeping it clean is crucial.

Fortunately, cleaning it is a simple task and can be easily done with an inexpensive brush like the Pro-Ject Clean It, the sticky and effective Pro-Ject Vinyl Clean or a brush + fluid combo such as the Clearaudio 'Elixir Of Sound' cleaner.
While these cleaning implements are specifically designed to work with such a delicate component as the stylus, it hopefully goes without saying - take extreme care when using any cleaning implement with your stylus!
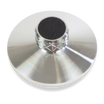
5.) Upgrade Your Platter & Mat

As we've already established - when it comes to your turntable, noise and vibration is the enemy! Anything you can do to reduce or eliminate these interferences will improve your sound quality immensely.
One of the big noise polluters on many turntables is the platter. To keep costs down the platter is often made from a simple plastic or alloy metal, and while technically it 'does the job', these materials can resonate and transfer noises and vibrations to the stylus, and through to your speakers.
Occasionally your turntable comes standard with a platter mat to reduce the noise transferred between the platter and your record. Most of the time these are made from felt or rubber and these 2 materials provide their own set of problems - causing static and isolation issues respectively.
This is, fortunately, an easy fix and there are a number of great options that can get you out of trouble no matter your budget.
WHAT'S THE SOLUTION?:
A Better Platter Mat: Upgrading your platter mat is a quick an inexpensive way to reduce the resonance caused from a bare platter, or the static / isolation caused by a low-grade mat. Pro-Ject's Cork It & Leather It platter mats are both excellent and affordable options.
A Better Platter: An upgraded platter mat on a low-quality platter is like putting a band-aid on a broken bone. If your turntable platter is causing noticeable resonance issues, you really need to upgrade it to an inert and 'sound-deadening material like Acryl. The Pro-Ject Acryl It or Acryl It E is a simple and effective option to take that resonance right out of the picture!
Final Pro Tip:

Many of the tools you'll need for correctly setting up your turntable, maintaining it and keeping both it and your vinyl clean can be found in a pack at a bundle price.
Our picks are the Ultimate Vinyl Record Cleaning Kit, the Pro-Ject / Ortofon Vinylcare Pack and the Clearaudio Turntable Carekit. Depending on what you need, these may be the best option - have a look over them first as they can save you a bit of money!
I Got 99 Problems But My Turntable Ain't One!

We know that was a lot to take in.
As fellow Hi-Fi enthusiasts, we can assure you that the effort and attention to detail required to achieve the best record player setup possible is all worth it.
Aside from the undeniable improvement in sound that a high-quality, well-maintained and properly setup turntable provides, nothing compares to the tactile feel and almost meditative process of taking the time to put an LP on, sit down and enjoy the music.
So whether you're into high-end record players or just starting out with an entry-level turntable, we hope you enjoyed the article and picked up a few tips that take your vinyl experience from good to great!
As always, if you have any further questions don't hesitate to get in touch - we'd love to help.
Leave a comment
All comments are moderated before being published.
This site is protected by hCaptcha and the hCaptcha Privacy Policy and Terms of Service apply.